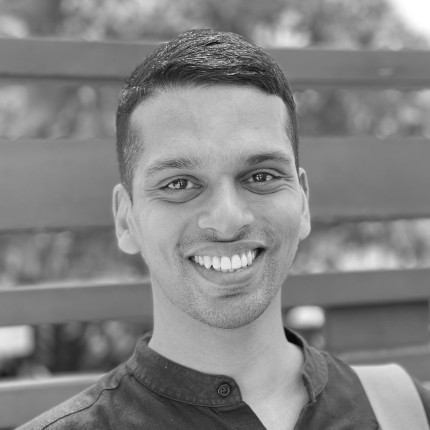
Developer / Tinkerer / Absurdist
I am a hobbyist software developer and a tinkerer.
For a brief period, I was in the academia—at the Middlesex University, London—doing research, from where I obtained a BSc. in Computer Science (2008) and a PhD in Artificial Intelligence & Computational Linguistics (2011).
In 2013, I started the tech team at Zerodha, now India's largest stock broker, where I have been the CTO ever since. At Zerodha, we have an unconventional team and we work on interesting financial technology projects.
I volunteer at several non-profit organisations, including the following ones that I co-founded:
- FOSS United Foundation — started in 2020 to promote Free and Open Source Software communities and activities in India.
- Rainmatter Foundation — started in 2020 to back initiatives and projects in India focusing on ecological preservation and climate change.
- Indic Digital Archive Foundation — started in 2022. Works on Indic language computing projects and digital preservation of Indic language cultural artefacts such as books, publications, and documents.
- Samagata Foundation — setup in 2023 with the aim of backing initiatives and projects that cut across science, culture, art, technology, and education with a specific focus on the creation of public commons, institutions, and community spaces.
I identify strongly as an absurdist, a worldview that drives everything I do. I have a bleak view of the future thanks to human-made climate change, humanity's callous penchant for relentless extraction, environmental and ecological destruction, and its irrational hatred for fellow beings. And yet, somehow, I am not a dysfunctional pessimist.


I discovered the idea of code sometime in 2000 after unexpectedly getting a personal computer. Starting with Perl and VB6, I have been going down the rabbithole ever since. These days, I mostly write programs in Go. I released my first big FOSS project in 2002—bMachine, a blogging platform. Some of my personal projects can be found here.
This website first went online in 2001 and has since undergone numerous iterations. It has lived on F2S, Angelfire, Geocities, Netfirms, and other free webhosts of the yesteryear, whose names I have long forgotten.
The period brings back intense bittersweet nostalgia—the discovery of code, the excitement of connecting to the world over dialup Internet, the gratification of relentless experimentation by trial and error. The heydey of guest books, web rings, CGI scripts, and Matt's FormMail. I loved every bit of it. I keep this website online as a reminder of that past.
I am fortunate to be in a position where what I do every day is exactly what I have unconditionally enjoyed doing for more than 24 years now—writing software, tinkering, and experimenting.
Last updated on 7th April 2024. I can be reached at [email protected].
Blog posts
- 13 May 2023 This time, it feels different
- 15 Nov 2022 But, aren't you folks web2?
- 22 Aug 2022 The triangle of fulfilment
- 01 Aug 2022 Reflections on IndiaFOSS 2.0
- 02 Mar 2022 FOMO? YAMO.
- 12 Dec 2021 "Open source" is not broken
- 26 Nov 2021 On "Powered by AI / ML" marketing
- 16 Oct 2021 The Javascript "ecosystem" is a hot mess and so is software development in general
- 30 Jan 2021 The "Atmanirbharta" of open source software
- 18 Mar 2019 The absurdity of clubbing AI with blockchain
- 26 Dec 2015 Indian startups ecosystem: Fear of failure grounds our success story
- 18 Dec 2012 Parallels
- 15 Aug 2012 അണ്ണാരക്കണ്ണന്മാര്